Installation on Windows
On Windows, the easiest way to install LesionTracker is using the provided Windows Installer. You can download the latest version of LesionTracker installer from OHIF
Install
- After you have obtained the latest version of LesionTracker installer, double-click the installer to install the application.
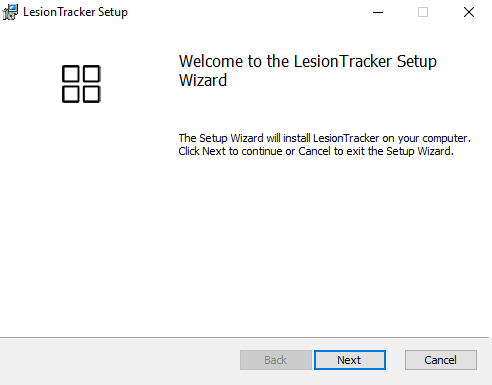
- When you start the installer, setup wizard will pop up.

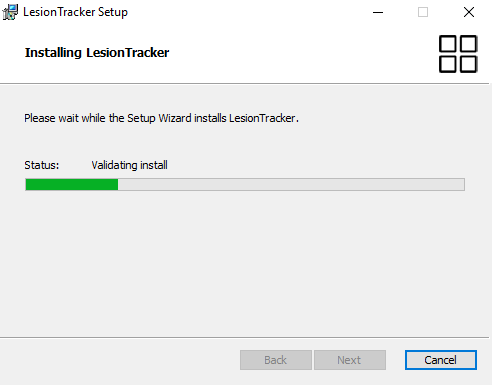
- Click Install to start the installation.
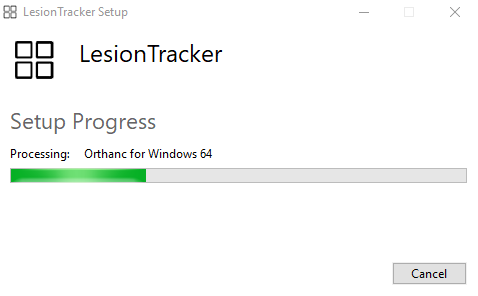
- LesionTracker will install prerequisites if they do not exist before installing the application.
- Click the Next if you accept the installation.
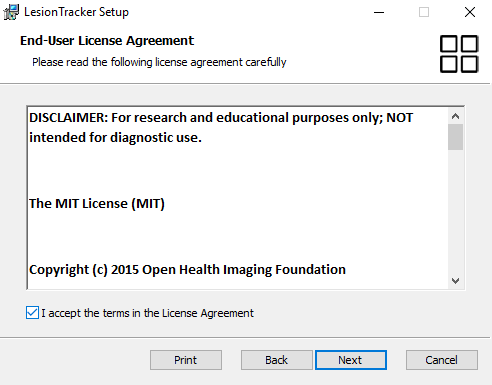
- Read the license agreement, and if you agree, click I accept the terms in the License Agreement and then click the Next.
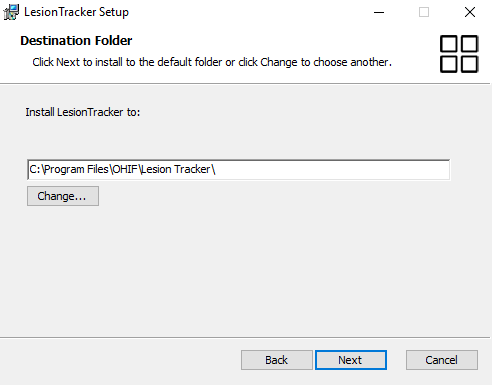
- Select a location to install LesionTracker and click the Next to continue.
- Click the Install to start the installation and the installation will be started.
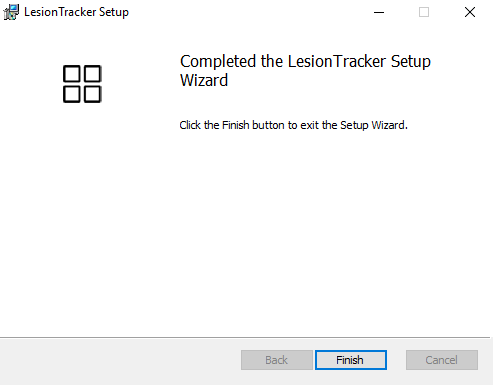
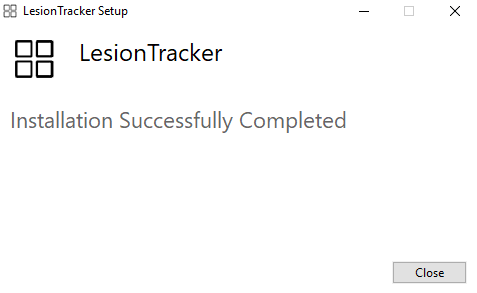
- Click Finish to complete the installation.
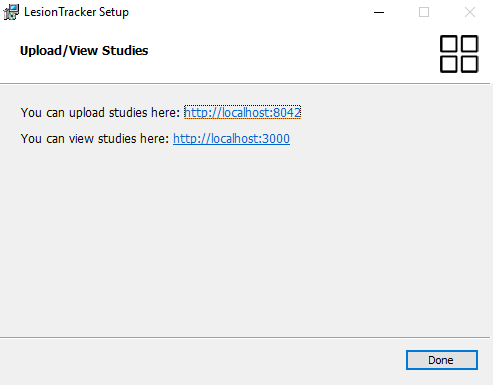
- When the installation is done,
You will see the final dialog which gives the URLs in order to connect to LesionTracker Viewer and Orthanc Server.
- It will launch computer's default browser and display LesionTracker Viewer if you click 'http://localhost:3000'
- It will launch computer's default browser and enables to upload studies to Orthanc Server if you click 'http://localhost:8042'
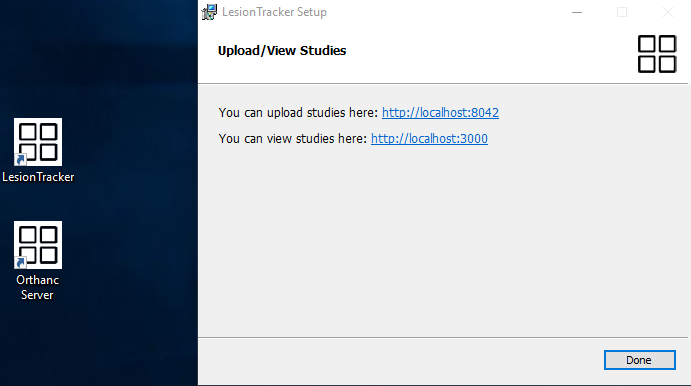
Also, LesionTracker installer will create two shortcuts named LesionTracker and Orthanc Server on the Desktop.
- It will launch computer's default browser and display LesionTracker image viewer if you click LesionTracker application on the Desktop.
- It will launch computer's default browser and enables to upload studies to Orthanc Server if you click Orthanc Server application.
- Click the Done and Close to close the installation window.
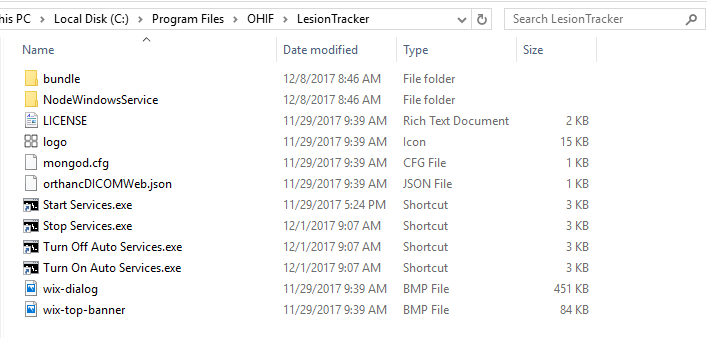
- After the installation is completed,
You can find the project folder in C:\Program Files\OHIF\LesionTracker if you use the default installation location.
You will find 4 program executables which eases managing the services in the project folder:
- Start Services.exe: Starts LesionTracker, MongoDB and Orthanc services manually.
- Stop Services.exe: Stops LesionTracker, MongoDB and Orthanc services manually.
- Turn Off Auto Services.exe: Configures not to start LesionTracker, MongoDB and Orthanc services automatically when Windows starts up.
- Turn On Auto Services.exe: Configures to start LesionTracker, MongoDB and Orthanc services automatically when Windows starts up.
Uninstall
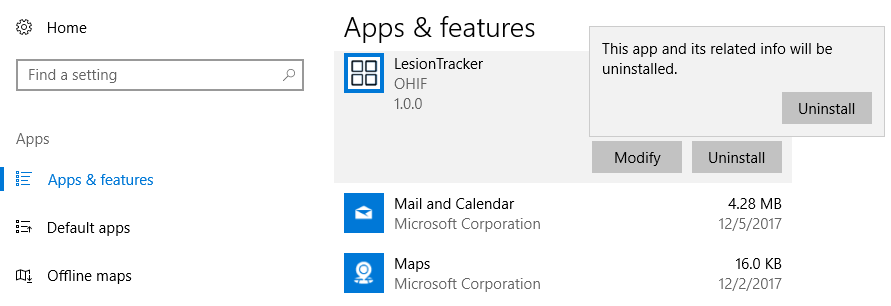
- Open the Start Menu.
- Click Settings.
- Click Apps on the Settings menu.
- Select Apps & features from the left panel.
- Find the LesionTracker in programs list and click LesionTracker, then click the Uninstall.
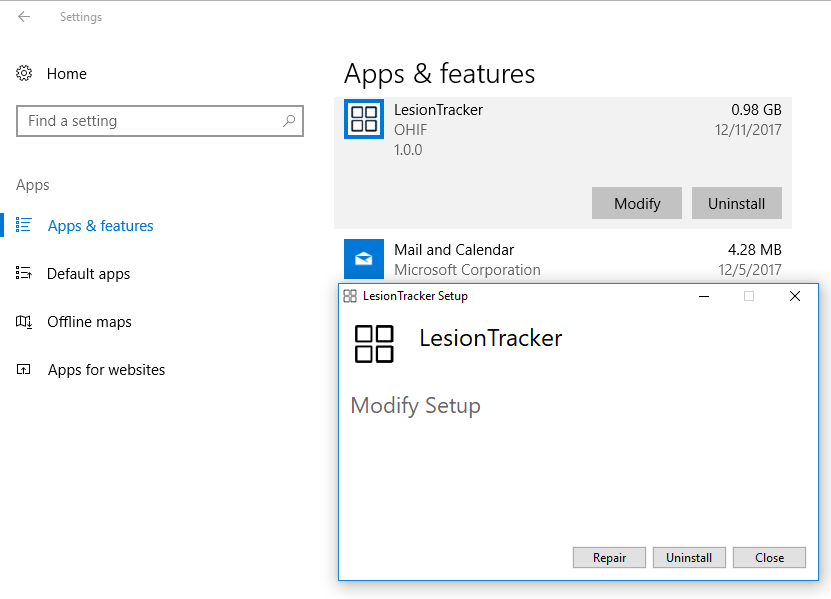
- Click Uninstall from the LesionTracker Setup dialog.
When the uninstallation is done, the uninstallation will remove;
- Prerequisites: MongoDB, nodejs and Orthanc Server
- The project folder, OHIF, from C:\Program Files
- Background Services: LesionTracker Server, MongoDB and Orthanc services
- Shortcuts: LesionTracker and Orthanc Server shortcuts on the Desktop